
It’s been a while since we brought you a scrapbooking tutorial so we’re very happy to team up with some of the creative minds at our HQ in Spain to do it again, this time using our stencils and aQua 2017 craft spray which is formulated especially for using in areas with low ventilation and on small craft projects. It’s a perfect spray for the winter months!
Materials
- Pintyplus Removable Adhesive Spray
- aQua 2017 Pintyplus Spray in your choice of colours
- White cardboard
- Scissors
- Stencils
- Photo
- Buttons & embellishments
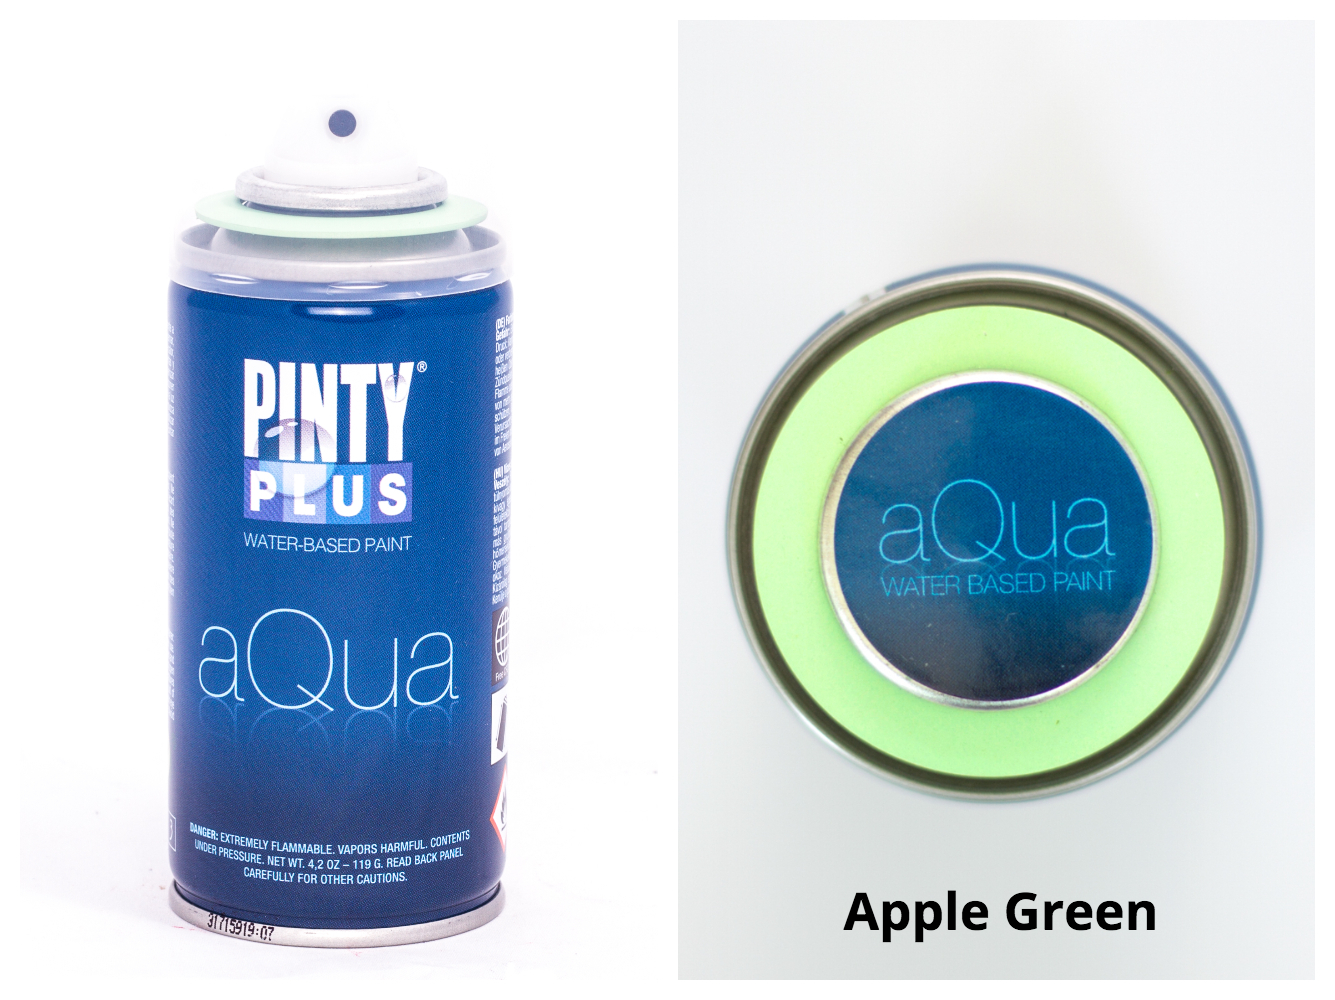
Pintyplus - aQua 2017 - Matt - 3 x 150ml
MATT colours. To use inside a house, in reduced spaces or places that have poor ventilation. Do not smell.
£15.99
View product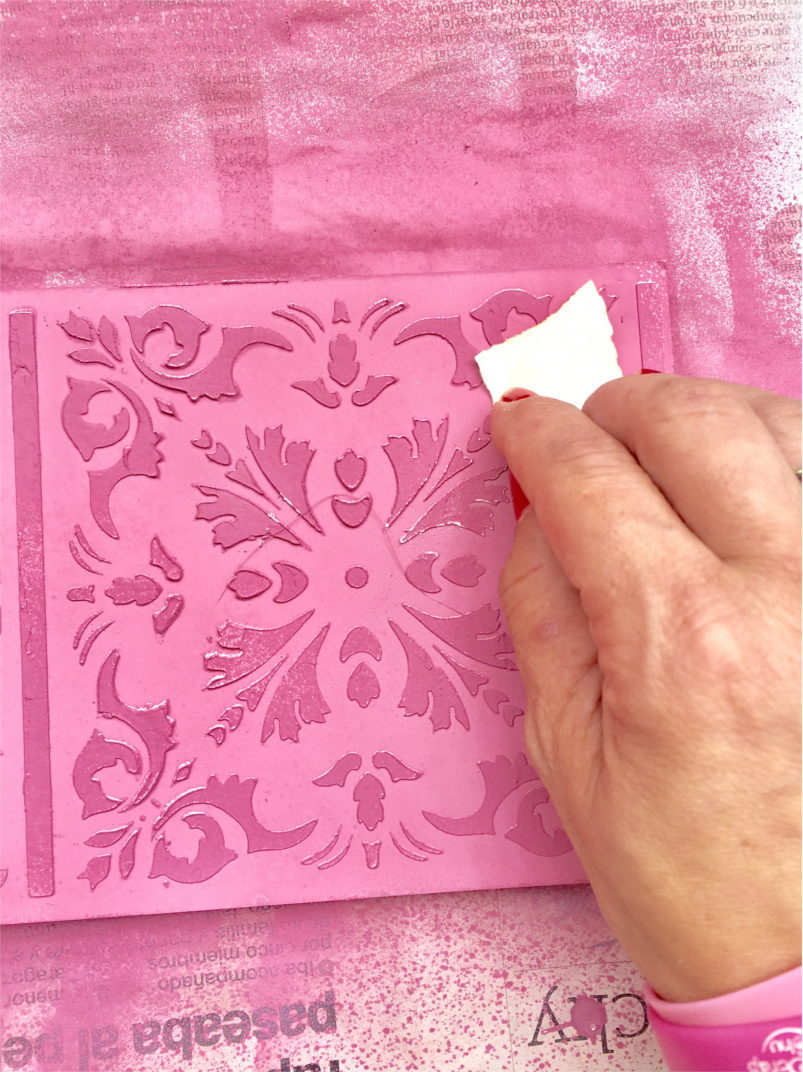
Pintyplus Stencils for spray painting
The stencils for spray painting Pintyplus are designed to be used an unlimited number of times.
£9.99
View product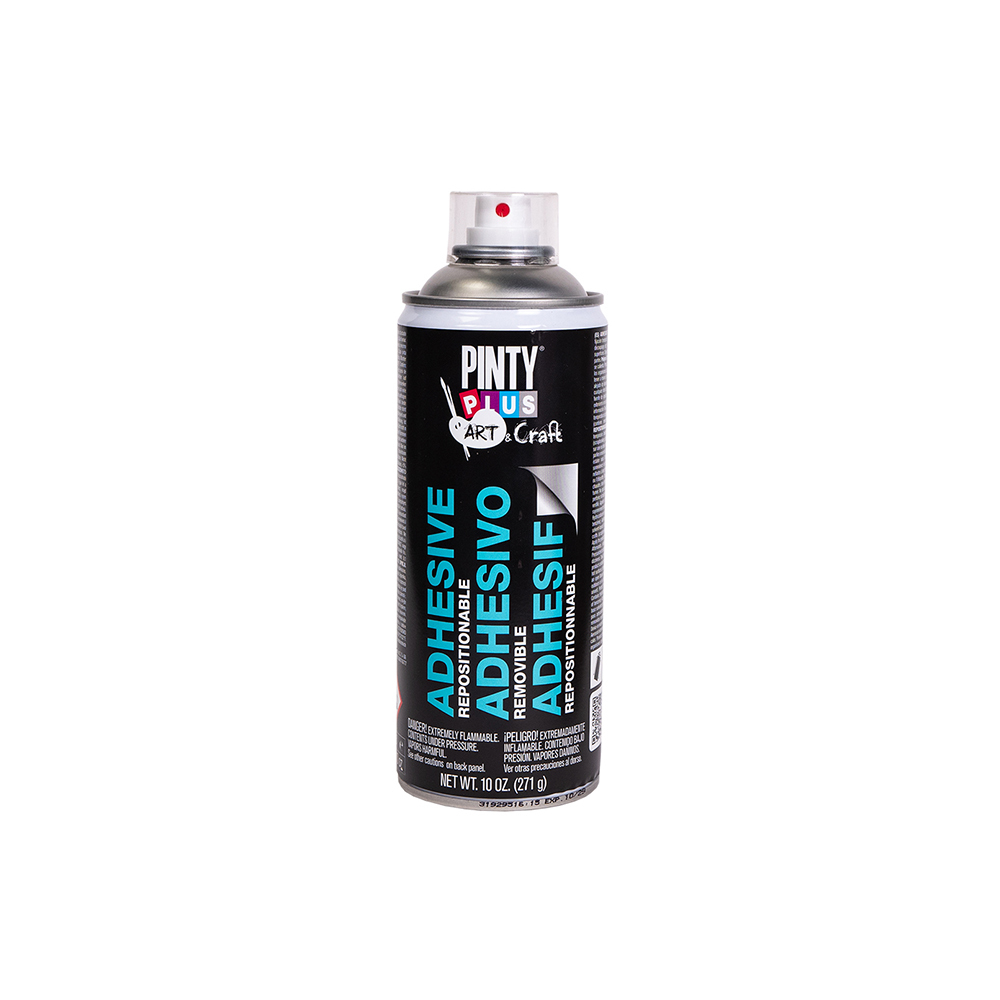
Pintyplus - Art - Repositionable (removable) Adhesive Spray - 400ml
Stick and take off as many times as you want
£15.99
View productStep by Step
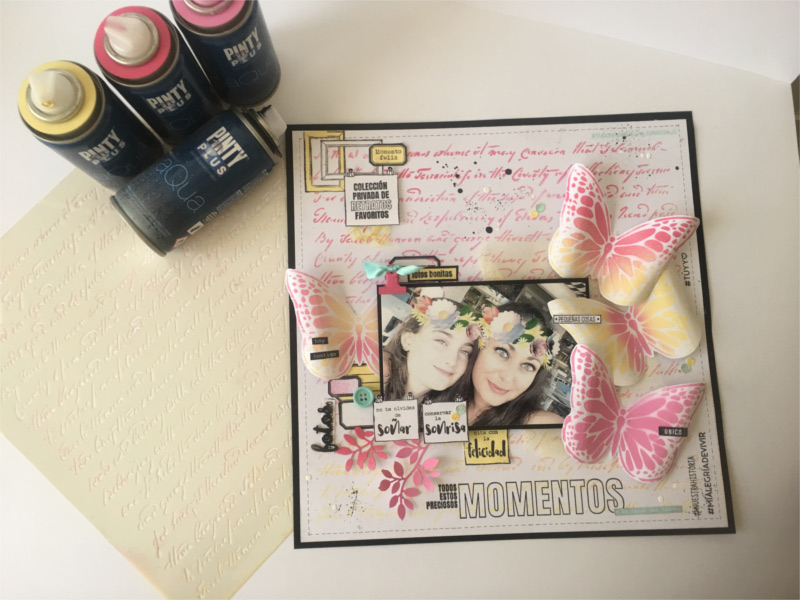
Now we will show you how easy it is to make a layout using our stencils and paints.
1º.- Removable adhesive on the stencil
To give good definition we will use the PintyPlus removable adhesive spray. By doing this we can ensure that the stencil remains fixed in one place while we are spraying. The idea is to spray the stencil from the back for about three seconds with the adhesive spray. It is important that we do not apply too much as we don’t want to leave any residue when we take it off after spraying. If you want more support you can always use some maaking tape too.
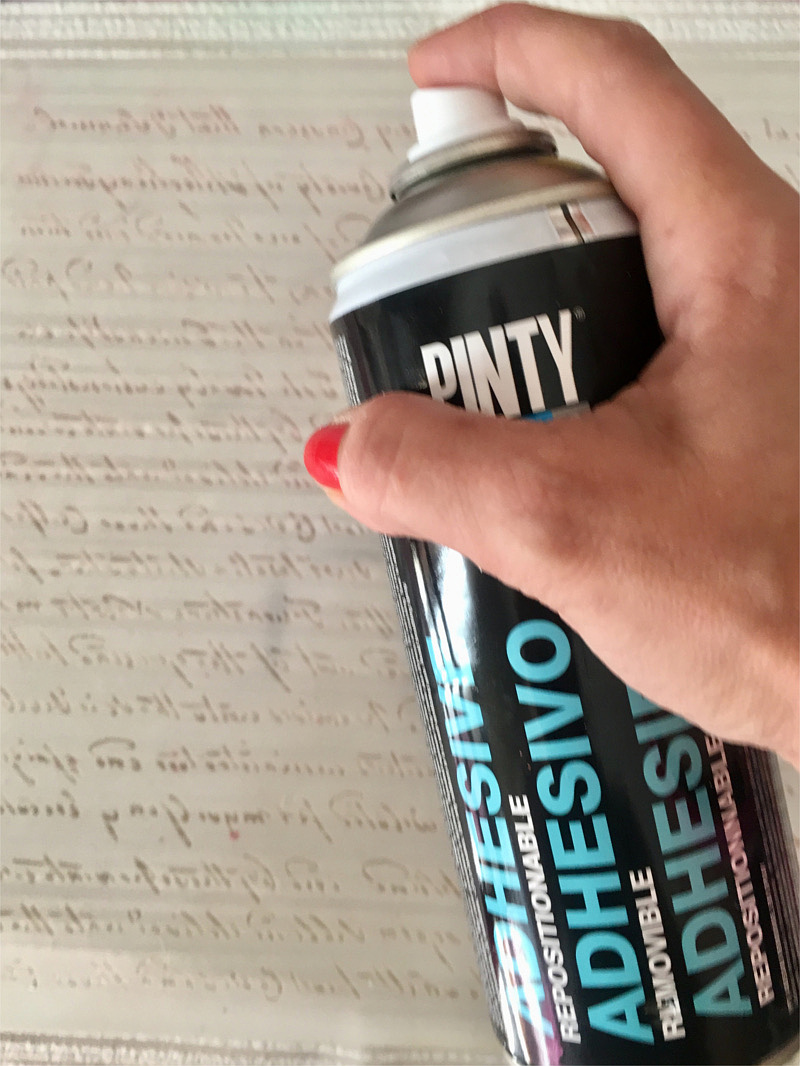
After applying the temporary adhesive to the stencil wait a minute before fixing it in to place. After positioning it, wait another minute before starting to paint.
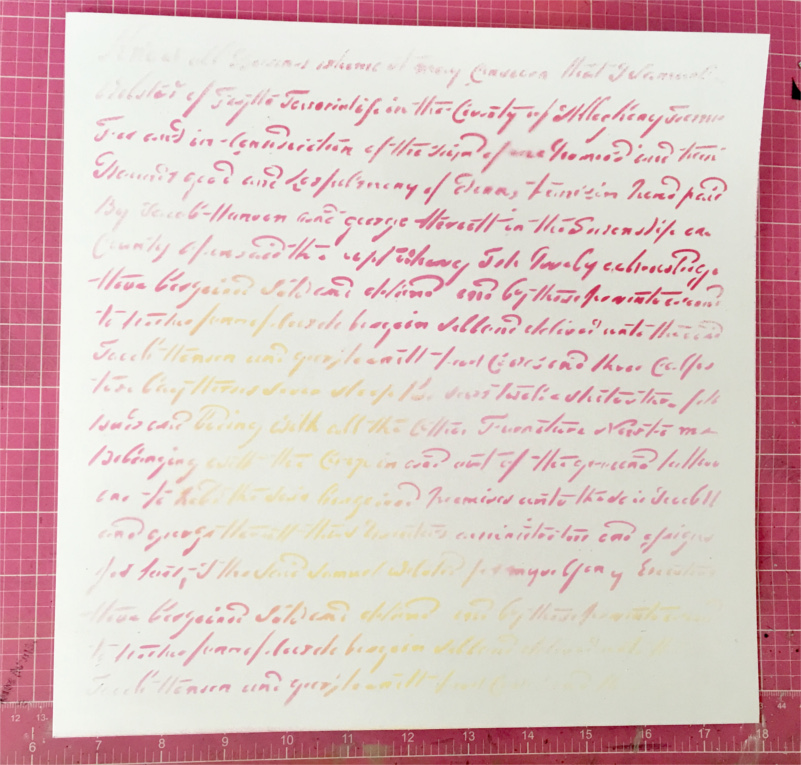
2º.- Painting on the stencil
To paint we spray at the recommended distance of 5 centimetres from the surface. Ensure you don’t use too much paint or linger over one point spraying for too long as they can cause the paint to build up and you may lose definition in the image. After applying the paint wait three minutes before removing the template to avoid smudging the paint.

3º.- Clean the stencil
The stencilling has been perfect. Now we have to clean the stencil so it is ready to use next time. If we clean the template quickly, the process is quite easy. Either with alcohol or with acetone (nail polish remover) the paint will come out quickly and we will have our stencil as new. If you wait too long, the paint will dry up. If the paint dies before you can clean the stencil, use acetone and apply a little more effort, you will still get it clean eventually!

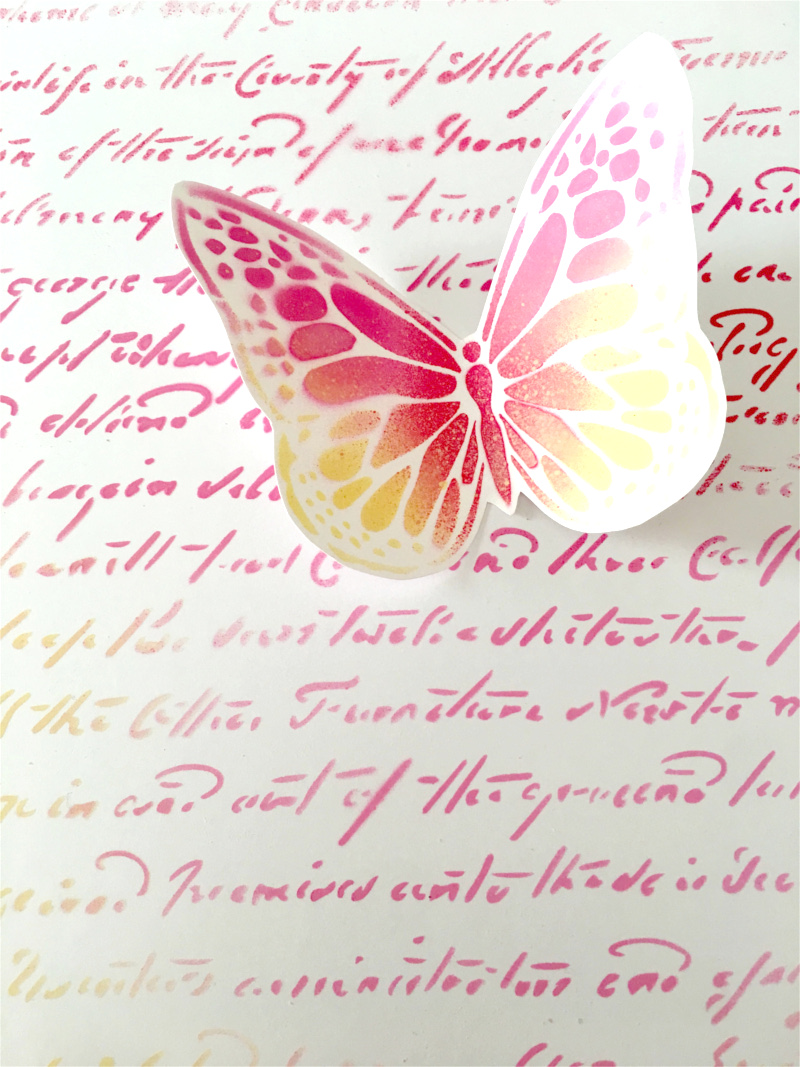
4th.- Cut out the butterfly
As you can see we used two stencils to create our scrapbook layout. Having sprayed the butterfly stencil on to card you need to cut round the shape and remove excess.

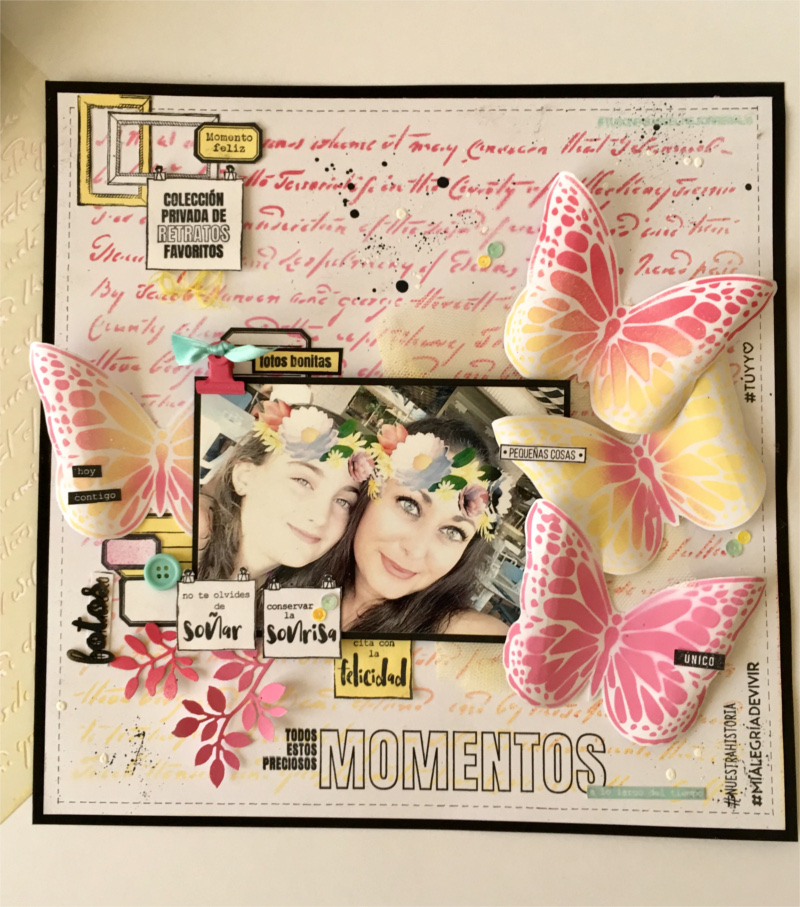
5º.- Assemble the layout
The background with cursive letters, the butterfly, a photo that represents our memory and stamps. Look how effective it is!
If this tutorial inspires you don’t forget to share your own projects with us on social media (@pintyplusuk) using the hashtag #pintypluser
Pintyplus - aQua 2017 - Matt - 3 x 150ml
MATT colours. To use inside a house, in reduced spaces or places that have poor ventilation. Do not smell.
£15.99
View product
Pintyplus Stencils for spray painting
The stencils for spray painting Pintyplus are designed to be used an unlimited number of times.
£9.99
View product
Pintyplus - Art - Repositionable (removable) Adhesive Spray - 400ml
Stick and take off as many times as you want
£15.99
View product