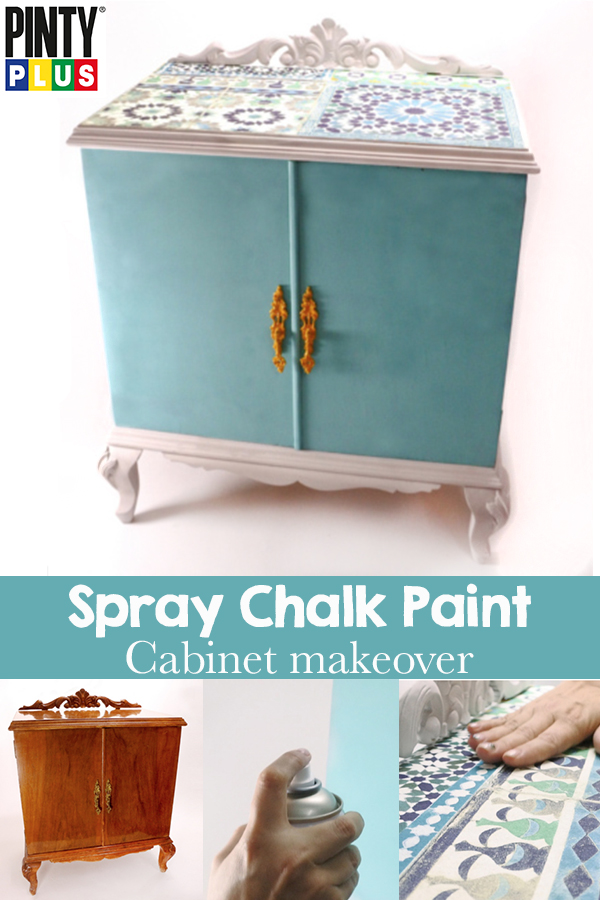
One of the most rewarding ways to use our spray chalk paint is to restore old furniture. In this post we are going to show you how we have transformed an old piece of furniture. It is a cabinet which with a bit of time and materials has been transformed into a beautiful piece of furniture.
Materials
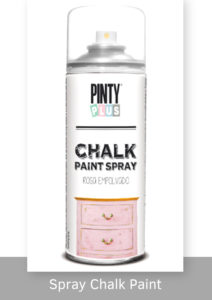
- Chalk Finish Spray Paint
- Greenox Permanent Adhesive
- Primer
- Masking tape
- Cloth to clean
How to paint furniture with spray chalk paint
We have an old piece of furniture and we are going to turn it into something new and beautiful. Painting a piece of furniture with spray is simple and fun and when you start spraying you will not be able to stop!
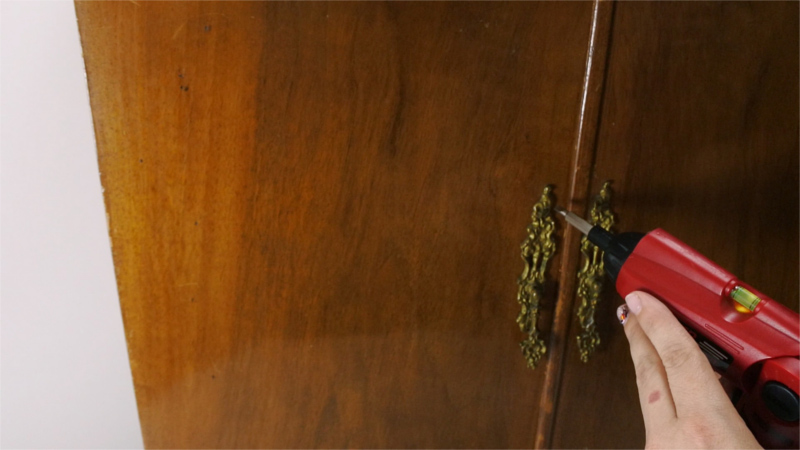
1º.- Unscrew and sand
The first thing we are going to do is remove the handles and sand the table to eliminate the varnish.
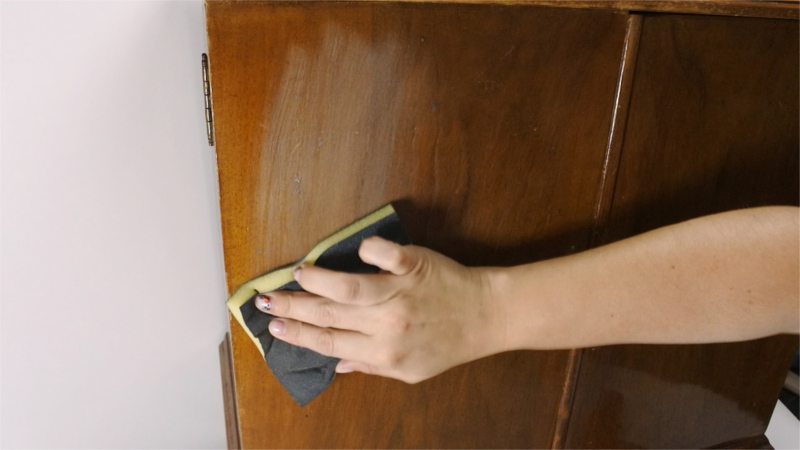

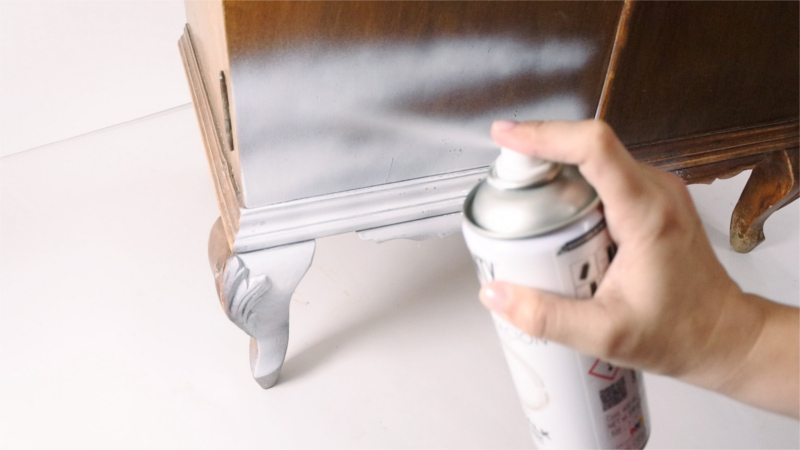
2nd.- We clean and print
Secondly, we remove the dirt by passing a damp cloth across the surface of the table. Then we apply our spray primer. We’ll have to let it dry for an hour, one can should cover the whole cabinet.

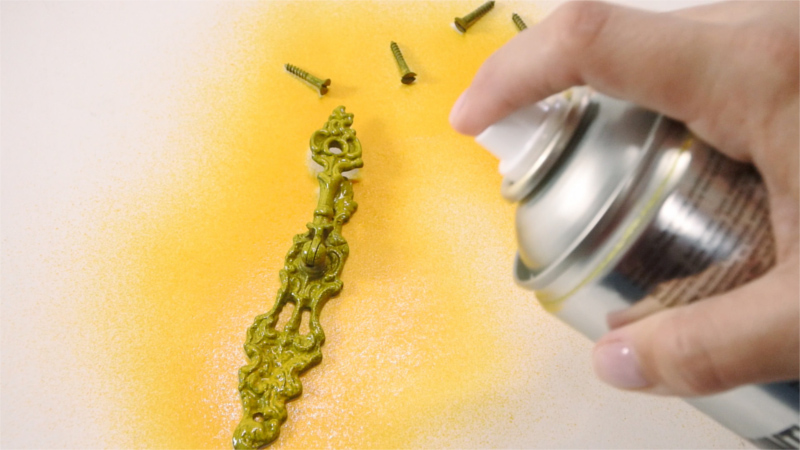
3º.- Paint the fixings
Next we will paint the handles with Pintyplus Evolution in mustard.
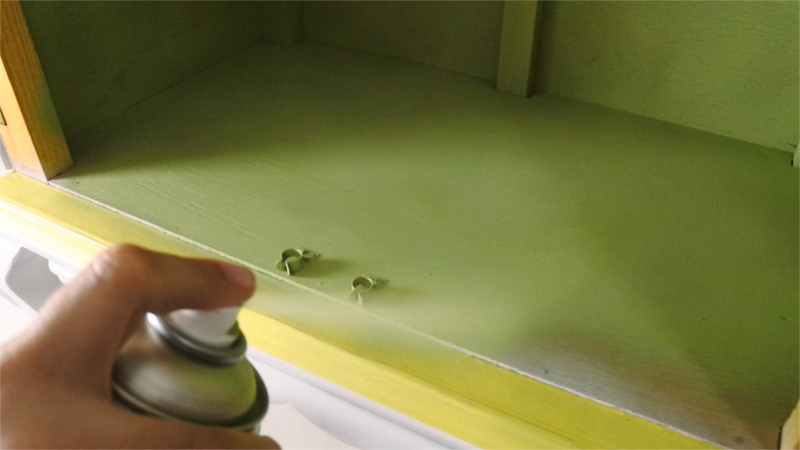
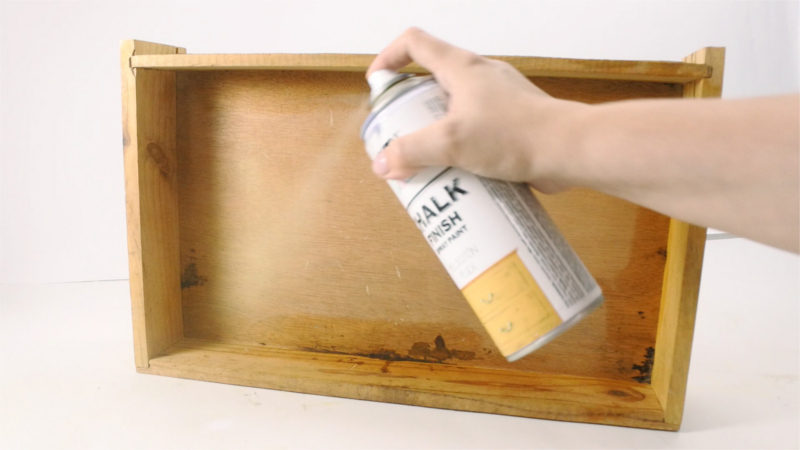
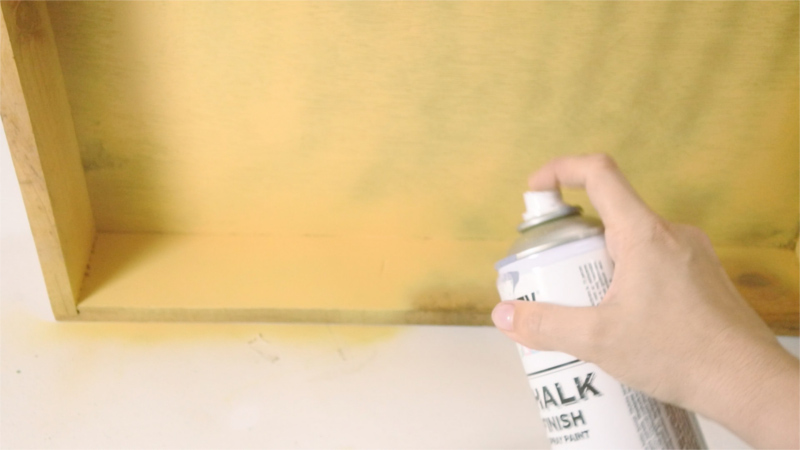
4º.- Painting the interior
Once the primer is dry, we will start to paint. First we paint the interior with chalk paint in Olive Green. As the wood inside the cabinet was untreated, we have not applied any primer.
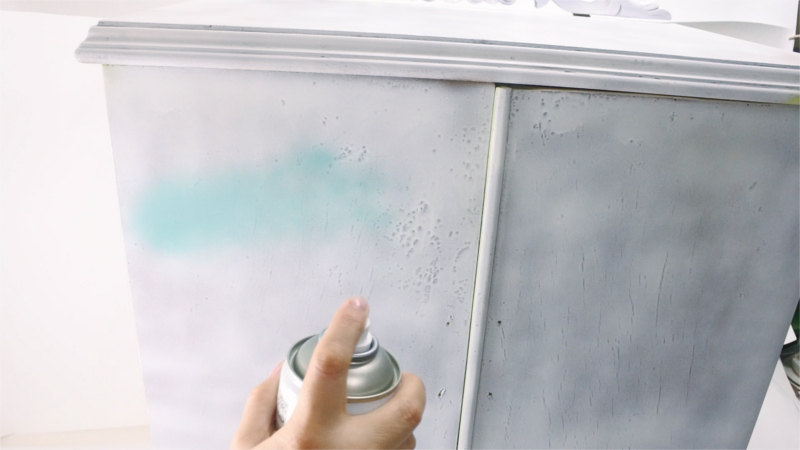
5º.- Painting doors and sides
Next we paint the doors and the sides. We have chosen turquoise for this.
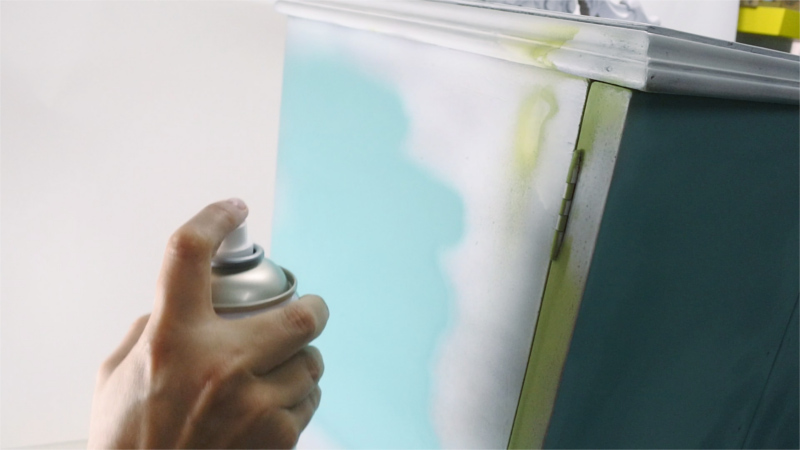
6º.- Paint the rest
We continue painting the top and bottom, where the moldings are. We are using stone grey in this area and have used masking tape to protect the areas we have already sprayed.
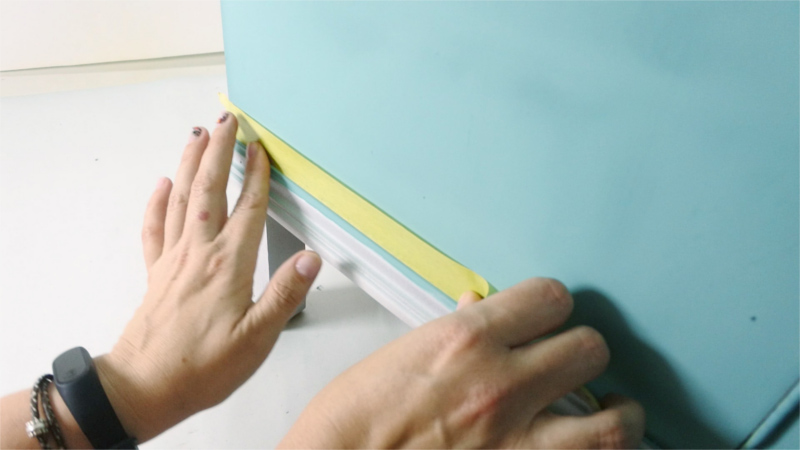
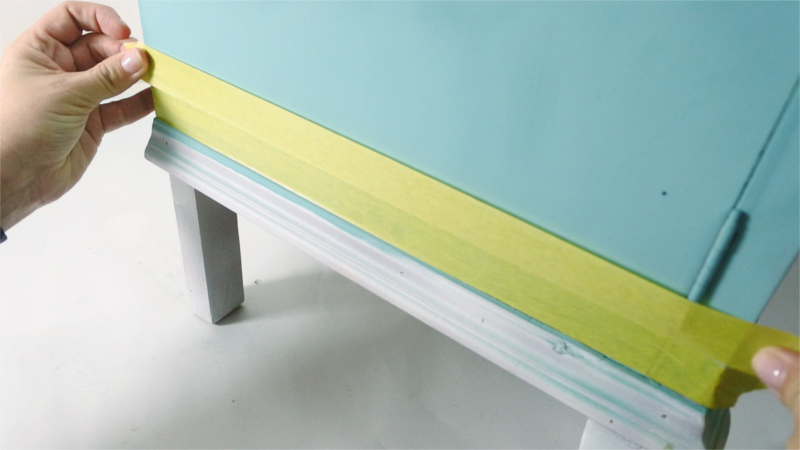
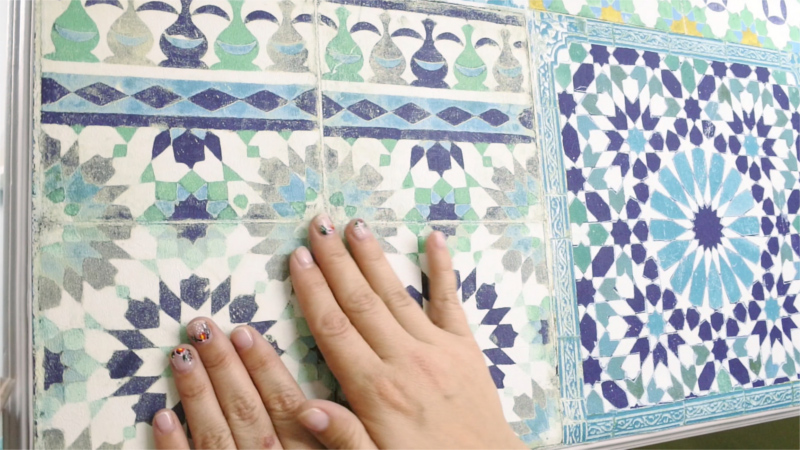
7º.- Cover with wallpaper
The upper part we have only primed but not painted because we are going to cover it with wallpaper. For this we have used permanent adhesive spray. Apply a thin layer and place the paper carefully so that it is properly stuck down.

8º.- Painting the drawer
In the same way that we have done with the cabinet, the interior drawer has been painted with chalk paint in peach color and the front has also been lined with the remains of paper lining the top of the table.
And we have it! In a very short time we have managed to transform our cabinet and give it a new life. If you do something similar with our spray paints we’d love to see it, share your phots on social media and use the hashtag #pintypluser.